

Finishing an embroidery project is a rewarding moment, but the finishing touches are just as important as the embroidery itself. A neatly finished piece of embroidery gives it a professional look and protects it for years to come. In this blog, we’ll share some essential tips and techniques for neatly finishing an embroidery project.
How do you neatly finish your embroidery?
We'll explain the steps to make your final result as beautiful as possible. Here are the steps to neatly finish your embroidery: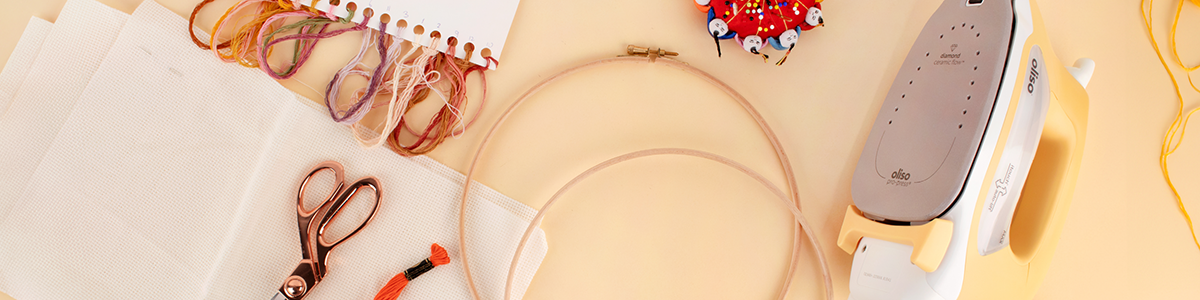
Tip 1: Clean your embroidery
Before you begin finishing your embroidery, make sure it is clean and free of stains. You can gently use a soft brush or a damp cloth to remove dust and dirt.
Tip 2: Iron your work
Gently iron the back of your embroidery with an iron set to a low temperature. Be sure to use a pressing cloth to protect your work. This helps smooth out any wrinkles and prepares the piece for the final touches. We also have a beautiful iron in our collection that’s specifically designed for craft projects! Check it out here.
Tip 3: Choose a suitable frame or mount
Consider mounting your embroidery in an Embroidery Hoop, an embroidery frame, or a picture frame. A frame not only helps protect your work but also displays it beautifully. Make sure the frame is large enough to show off your embroidery in its entirety.
Tip 4: Stretching the Artwork
If you choose to hoop your embroidery in an embroidery hoop or frame, place your embroidery tautly and evenly in the hoop or frame. Gently pull on the fabric to smooth out any folds or wrinkles. Adjust the tension if necessary and make sure your embroidery is centered nicely.
Tip 5: Hiding Strings
Threads that are visible on the back of your embroidery can detract from the overall appearance of your work. Tuck them away by trimming the threads to about 2 cm in length and then securing them firmly to the back of the work with a needle and thread. Make sure the buttons are flat and tight so they aren’t visible on the front.
Tip 6: Protecting Your Embroidery
To protect your embroidery from dust and damage, you may want to consider attaching a layer of acid-free vellum or parchment paper to the back of the piece. This prevents dust from getting into the stitches and helps keep your work in top condition.
Tip 7: Use sharp scissors
Invest in a good, sharp pair of scissors to trim threads and cut away excess fabric. Sharp scissors ensure clean, precise cuts without fraying.
Tip 8: Consider using a backing fabric
If your embroidery has a background, such as a cross-stitch project, consider adding a backing fabric. This can give the piece a polished look and hide any imperfections.
Tip 9: Add a label
Personalize your embroidery by adding a label with your name, the date, and any other relevant details. This gives your work a professional touch and helps it stand out.
Tip 10: Use high-quality materials
Use high-quality embroidery threads, fabrics, and other materials to ensure that your embroidery not only looks neat but is also durable. Choose threads that are colorfast and fabrics that are highly resistant to wear and tear.
With these tips and techniques, you can finish your embroidery neatly and professionally. The result is a beautiful work of art that’s not only well-protected but also a delight to behold. Good luck with your next embroidery project, and enjoy the finishing process!
Sign up for the Newsletter and stay informed
Never miss another blog post? Sign up for our Newsletter and stay up to date!
Share your creations on social media using #Yarnplaza
Share your creations on social media like Instagram and Facebook using #Yarnplaza, and who knows—your creation might just be featured on our Wool of Fame!


