

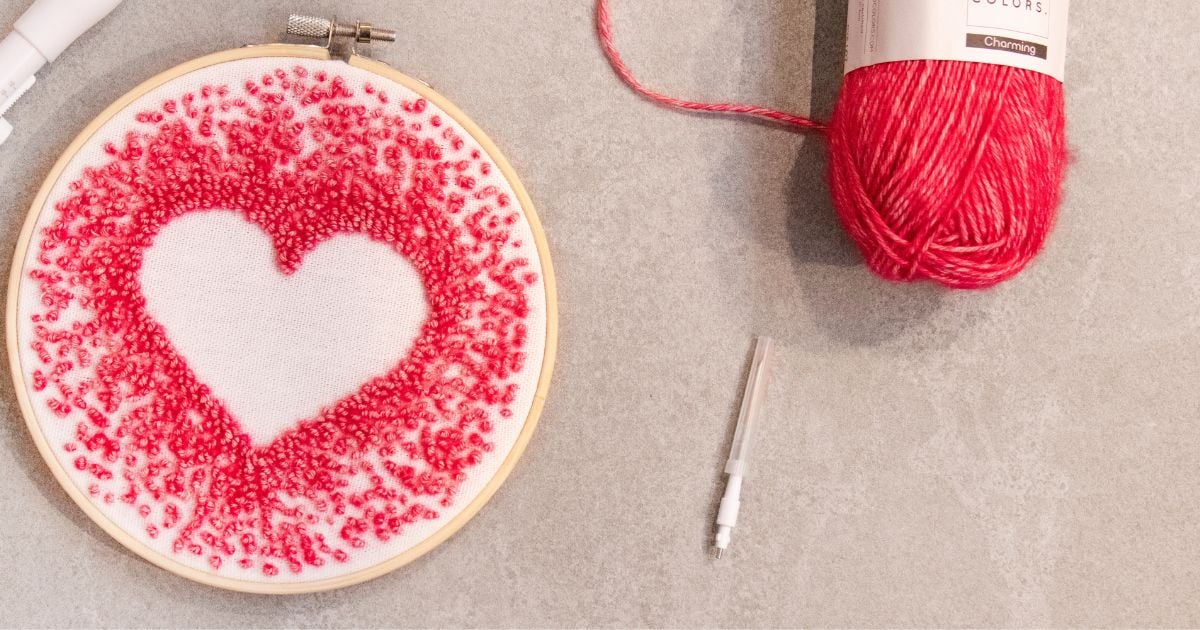
Would you like to try your hand at the trendy craft technique of using a punch needle and make something beautiful for a loved one? Then we have the perfect project for you: a punched heart! We’d love to show you how to use a punch needle to punch this playful little heart so you can surprise your loved one with this heartfelt gift.
The punch needle is all the rage, and you can use it to create beautiful, colorful little works of art. This heart has a really playful look thanks to its patterns and the yarn! Punch this heart for your loved one, and you’ll have a wonderful gift to surprise someone special.
More info about punch needles
In this previous blog post, you'll learn all about the punch needle technique, the tools & supplies you'll need, and watch a helpful video in which Monique demonstrates how to use the punch needle. Perfect if you're new to this technique!
Tools & Supplies
:- 1 ball of Yarn and Colors Charming, color 33
- Rico Punch Needle
This set includes 3 needle tips and 2 threaders. The set contains a punch needle that is easily adjustable in length, allowing you to easily swap out the different needle tips in sizes 1.3 mm, 1.6 mm, and 2.2 mm.
- Embroidery hoop, 16 cm -
Punch fabric


Free Heart Punch Needle Pattern
Stretch your punch cloth into the embroidery hoop. Make sure it's nice and tight, and tighten the hoop securely (you may want to use a screwdriver for this).
Use a marker to draw a heart in the center of your punch cloth on the front of your project. The best way to do this is to cut out a heart from paper, place it on top, and trace around it. Dimensions of our heart: W 8.5 x H 7 cm (measured at the widest and highest points).
Thread your punch needle and let’s start punching on setting 4. First, punch the edge of the heart, making the flat stitches close together. Do this twice all the way around. Then punch two more rounds, spacing the stitches slightly farther apart. From here on, punch rounds around the heart, gradually spacing the stitches farther apart as you see fit. Punching in this way creates loops on the inside of the embroidery hoop. This will later become the front of your piece. When you’re completely finished, remove the fabric from the hoop and flip it over so that the side with loops is on the front and the flat side is on the back.
Cut the fabric to size, and for a nice finish, it looks good if you sew a border along the remaining piece of fabric using White Sewing Thread.
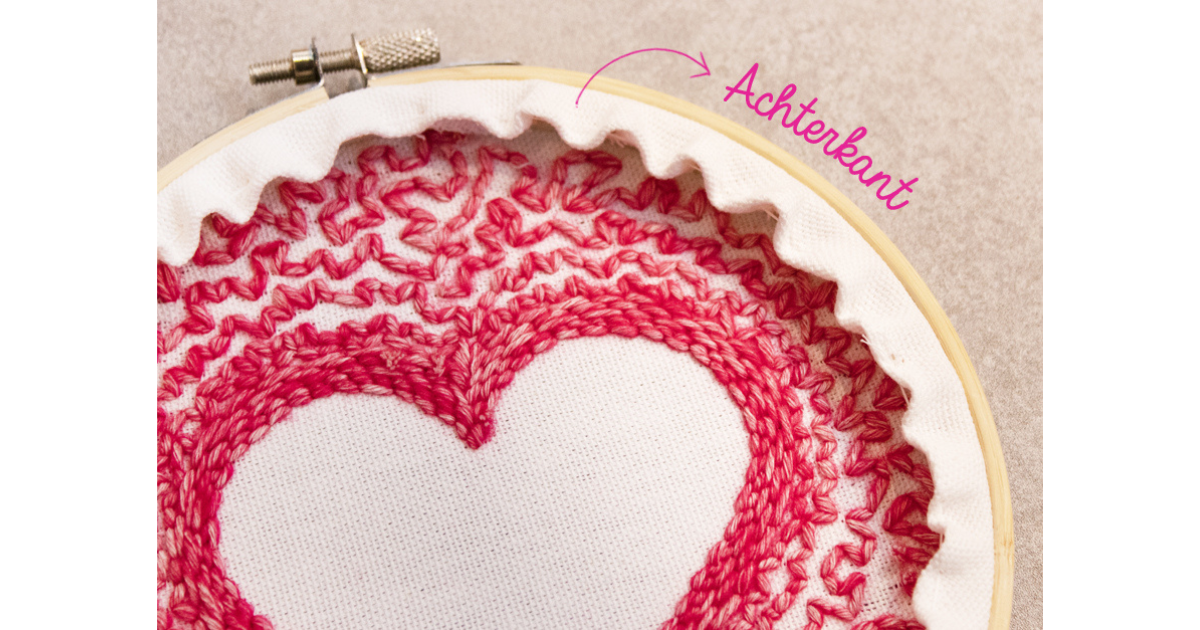
All done! Now you have an original, handmade, and heartfelt gift for your loved one!
Have fun punching!
Sign up for the Newsletter and stay informed!
Never miss another blog post? Sign up for our Newsletter and stay up to date!
Share your creations on social media using #Yarnplaza
Share your creations on social media like Instagram and Facebook using #yarnplaza, and who knows—your creation might just be featured on our "Wol of Fame"!


