

Kick off spring with this free punch needle pattern
Have you never tried punch needle embroidery before, or was it a long time ago, and do you want to brush up on your skills? No worries! We have super helpful blog posts where we show you which yarns to use for punch needle embroidery, share tips and tricks, and we even organized a real punch-along once. After you’ve gone through these helpful blog posts, you’ll be all set to get started with these free spring punch needle patterns.
Still need a little more information, and do you prefer to have things explained to you through video? We have a super-handy video online that will turn you into a real punch pro in no time!
Free Bee Punch Needle Pattern
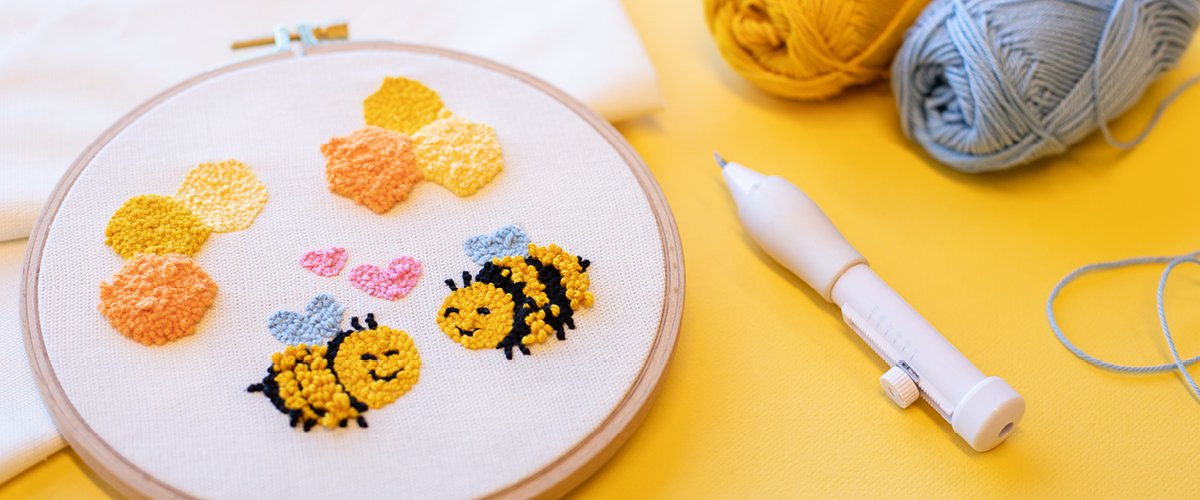
In the image, you can see the bee Punch Needle Pattern, but when you download the stencil, you’ll find many more fun spring Punch Needle Patterns. How about sweet little flowers or a curious mole poking its head out of the ground? This blog focuses on the bee Punch Needle Pattern, but feel free to have fun with the other cool patterns too.
Step-by-Step Guide to Using a Punch Needle to Punch Bees
Time required: It takes about 3 hours to use a punch needle to punch this pattern.
What do you need?
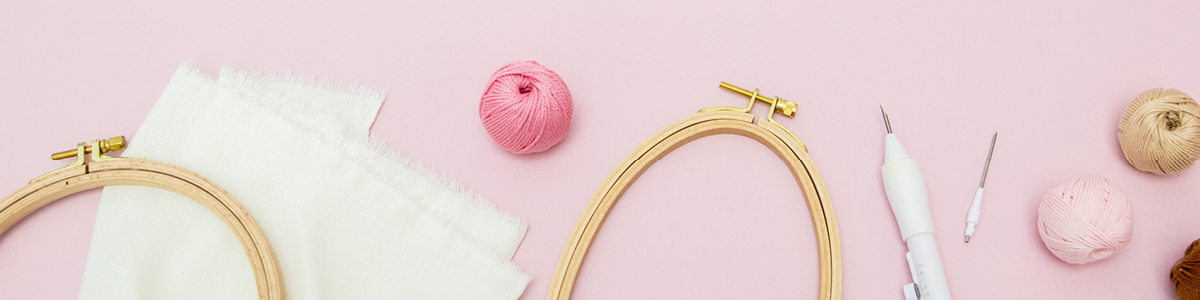
- Yarnplaza Punch Needle Pattern: Spring
- Embroidery Hoop, 15 cm
- Rico thin Punch Needle – 2.2 mm
- 1 Yarn and Colors Must-have mini 015 Mustard
- 1 Yarn and Colors Must-have mini 100 Black
- 1 Yarn and Colors Must-have mini 011 Golden Glow
- 1 Yarn and Colors Must-have mini 016 Cantaloupe
- 1 Yarn and Colors Must-have mini 038 Peony Pink
- 1 Yarn and Colors Must-have mini 062 Larimar
- Lilian canvas fabric
- Prym Washable Iron-On Marker, Red


Please note:
In this punch project, you’ll work with different needle lengths and on both the front and back of the piece. This creates a playful mix of long loops and flatter stitches. So be sure to pay close attention to when you need to turn your work over.
How do you use a punch needle to punch these cute little bees?
Step 1:
Stretch the fabric in the embroidery hoop and trace the pattern on both sides of the fabric.
Step 2:
Thread your punch needle with Mustard and set it to position 3. We’ll start with the honeycombs on the right. Punch the top one of the three with Mustard. When punching, always work from the outside in. So start with the edge and then fill in the honeycomb. When you’re done with this hexagon, cut your thread and flip your work over.
Step 3:
You’ll now use the punch needle on the side where the loops from your first punched honeycomb are located. Thread your needle with Golden Glow and leave your needle set to 3. Use the punch needle to punch the right honeycomb. Finished with this color? Cut your thread and thread your needle with Cantaloupe. Set your needle to 4 and use the punch needle to punch the left honeycomb of the three. Repeat this step for the remaining honeycombs. Experiment with your needle setting and with a flat stitch and loops.
Step 4:
Now turn your work so that you’re back working on the side of your first honeycomb. If you’ve done everything correctly, you should now have one flat honeycomb and two with loops. It’s time to punch the hearts. Thread the Peony Pink into your needle and use the punch needle on setting 3 to punch the hearts. Cut the thread when you’re done.
Step 5:
On the same side, punch the blue wings as well. Do this with the punch needle in the same position. Then continue with Black and punch the eyes, mouth, stripes, wings, feet, and antennae of the bee.
Step 6:
Next, thread your needle with Mustard and use a punch needle to punch the bees' heads. Once you're done with that, you can flip your work over again and stitch the yellow stripes.
Step 7:
This step is optional. When you're done, turn your work over and check for any long, loose loops. You can adjust these with a small (crochet) hook.
Step 8:
You've now finished using the punch needle to create this cute spring scene! What are you going to do with it? You can hang it on the wall or give it to someone as a gift.
Share your results!
Are you going to give one of these fun, free Punch Needle Patterns a try? Share your post with us by tagging us and using #Yarnplaza and/or #Yarnplazapunchen on social media. Have you—just like us—caught the punch bug? Then be sure to try one of the punch projects below.


